In today's digital age, where online privacy is more important than ever, Virtual Private Networks (VPNs) have emerged as a crucial tool for safeguarding personal information. This article will guide you through the essentials of VPNs and how they can help protect your online activities from prying eyes. By the end, you will understand what a VPN is, how to set one up, and best practices for using it effectively.
Step 1: Understanding What a VPN Is
A Virtual Private Network (VPN) creates a secure and encrypted connection between your device and a remote server managed by the VPN provider. This process helps to:
- Mask Your IP Address: Your real IP address is hidden, making it difficult for any third party to track your online activity.
- Encrypt Your Data: Data transmitted between your device and the VPN server is encrypted, enhancing your security.
- Bypass Geo-Restrictions: You can access content that may be restricted in your geographic location.
Step 2: Selecting a Reputable VPN Provider
Choosing the right VPN provider is essential for maximizing your privacy. Consider the following factors:
- Logging Policy: Look for providers with a strict no-logs policy to ensure your activities aren't stored.
- Security Features: Ensure the VPN offers robust encryption standards (like AES-256) and includes features like a kill switch.
- Performance: Read reviews to determine if the VPN is fast and reliable for streaming and downloads.
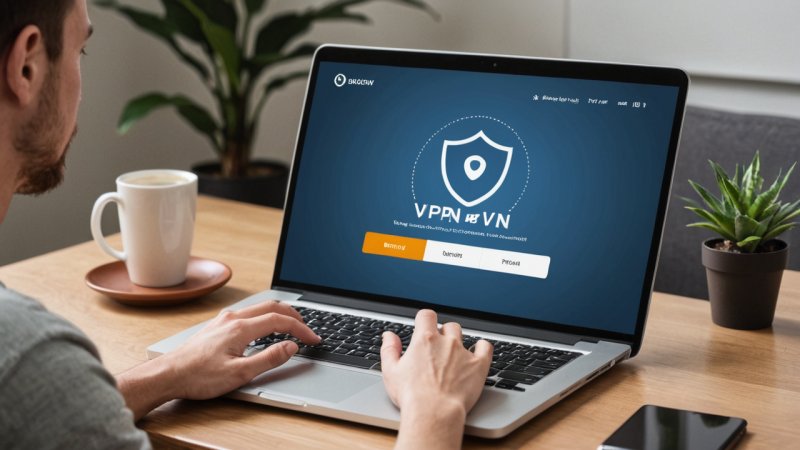
Step 3: Downloading and Installing the VPN Software
Once you've selected a provider, follow these steps to download and install the VPN:
- Visit the Provider's Website: Navigate to the official website of your chosen VPN provider.
- Download the Application: Look for the download link for your specific device (Windows, macOS, iOS, Android).
- Run the Installer: Follow the prompts to install the application on your device.
Step 4: Configuring VPN Settings
After installation, it’s time to set up the VPN’s configuration:
- Create an Account: If required, sign up for an account with your VPN provider.
- Log into the Application: Open the application and sign in with your credentials.
- Select Your Server: Choose a server location from the list provided. It’s usually best to select a server close to your geographic location for better speed.
- Adjust Settings: Check the settings for the protocol used (OpenVPN is widely recommended) and activate the kill switch if offered.
Step 5: Connecting to the VPN
To begin utilizing your VPN, connect to the selected server:
- Click the Connect Button: Most VPN applications have a simple connect button once you select the server.
- Verify Connection: Once connected, the application should indicate a successful connection, often displaying your new IP address.
Step 6: Testing Your VPN Connection
It’s critical to ensure that your VPN is functioning correctly:
- Check Your IP Address: Use an online tool to confirm your IP address has changed to the VPN server’s location.
- Test for Leaks: Use services like DNS leak test to ensure your real IP is not exposed.
Best Practices for Using a VPN
In addition to these setup steps, keeping your online privacy intact requires regular best practices:
- Reconnect Automatically: Enable the automatic reconnect feature if available.
- Update Regularly: Keep your VPN application updated to benefit from the latest security enhancements.
- Avoid Free VPNs: Free VPNs may compromise your security; always opt for a reputable paid service.
VPNs are an essential part of today’s online privacy strategy. They provide security by encrypting your data and masking your IP address. By selecting a trusted provider, downloading and installing the software, and following the steps to configure and connect your VPN, you can protect your online activities effectively.
In summary, remember to choose a reputable provider, configure your settings properly, regularly test your VPN connection, and stay updated with best practices. With these steps, you can enjoy a safer and more private online experience.